
DIY Bathroom Improvement Projects: Easy Upgrades for a Fresh Look
Are you tired of your old, uninspired bathroom and looking for a change? Look no further, as we have some fantastic DIY bathroom improvement projects that can amp up your space without breaking the bank. You’ll be surprised by how easy and budget-friendly these updates can be, allowing you to flex your creative muscles as you transform your bathroom.
Whether it’s adding storage solutions, updating your vanity and sink, or tackling toilets and bathtubs, these DIY projects will help you create a fresh and comfortable space. Get ready to roll up your sleeves and make a big impact with these simple yet effective updates. The best part? Many of these improvements can be accomplished in a relatively short amount of time, so you can enjoy the fruits of your labor sooner than you think.
Key Takeaways from DIY Bathroom Improvement Projects
- DIY bathroom improvement projects can be budget-friendly and have a significant impact on your space
- Easy updates like adding storage solutions and upgrading vanities, sinks, and fixtures can transform your bathroom
- Tackling aspects like lighting, toilets, and bathtubs can further elevate your bathroom’s overall appearance and functionality.
Planning Your DIY Bathroom Improvement
Assessing Your Space and Needs
Before diving into any DIY bathroom improvement project, it’s essential to take a moment and assess your space and needs. Consider the size of your bathroom, the layout, and the current fixtures. Think about what you want to achieve and any problems you may face. For instance, if your bathroom is small, you might want to focus on making it feel more spacious. Or if you have an outdated, budget-friendly design, updating your fixtures and plumbing may be just what you need.
Setting a Budget
Setting a budget for your DIY bathroom project is crucial, as this will dictate the materials and fixtures you can use, as well as help you keep your project on track. To keep costs down, prioritize your top three improvement items and allocate your funds accordingly. Factor in the price of materials, labor (if hiring professionals), and any permits you might need. Don’t forget to include a contingency fund for unexpected expenses—about 10% of your total budget is typically recommended.
Gathering Inspiration and Ideas
Once you’ve assessed your space and set a budget, it’s time to gather inspiration and ideas for your DIY bathroom project. Look for design elements that match your desired style and can be easily incorporated into your current layout. Here are a few sources to consider:
Home design magazines – Full of stunning photographs and articles on the latest trends, these publications can provide a wealth of ideas for your project.
Social media platforms – Sites like Pinterest, Instagram, and Houzz are bursting with beautiful bathroom designs. Create a board or collection of images that inspire you.
Local showrooms and home improvement stores – Visiting these showrooms can give you a hands-on experience of various materials, fixtures, and layouts. You can also ask the sales staff for advice and product recommendations.
To help you visualize your final design, create a mood board or sketches. Include your desired colors, fixtures, and design elements. This will act as a guide and enable you to stay on track with your DIY bathroom improvement.
Small Updates, Big Impact
Upgrading Bathroom Hardware
Swapping out old bathroom hardware with new, modern pieces is a simple and cost-effective way to give your bathroom a fresh look. You can replace items like the faucet, towel bars, and cabinet knobs. When choosing new hardware, pick a consistent style and finish to create a cohesive appearance throughout the space. Your bathroom will feel refreshed with minimal effort and expense, as demonstrated by these 9 Easy Bathroom Updates DIYers Can Complete In A Day.
Installing a New Showerhead
A new showerhead can significantly improve your daily shower experience and elevate the look of your bathroom. There’s a wide array of showerheads available, from water-saving eco options to luxurious rainfall heads. To install a new showerhead, simply unscrew the old one and replace it with your chosen model. This upgrade can be completed quickly, making it a great DIY bathroom improvement project.
Refreshing Walls with Paint or Wallpaper
Revamping the walls in your bathroom is an impactful way to change the room’s atmosphere. You can either:
- Repaint the walls: Choose a moisture-resistant paint designed for bathroom use. Bold or soft colors, depending on your preference, can work well in any bathroom setting.
- Apply wallpaper: Select a waterproof wallpaper specifically designed for bathrooms. This option allows for more intricate patterns and designs.
Both options can be done with a bit of preparation, patience, and attention to detail. Whichever you choose, refreshing your bathroom walls breathes new life into the space, making it feel updated and inviting.
Storage Solutions
Creative Shelving Ideas
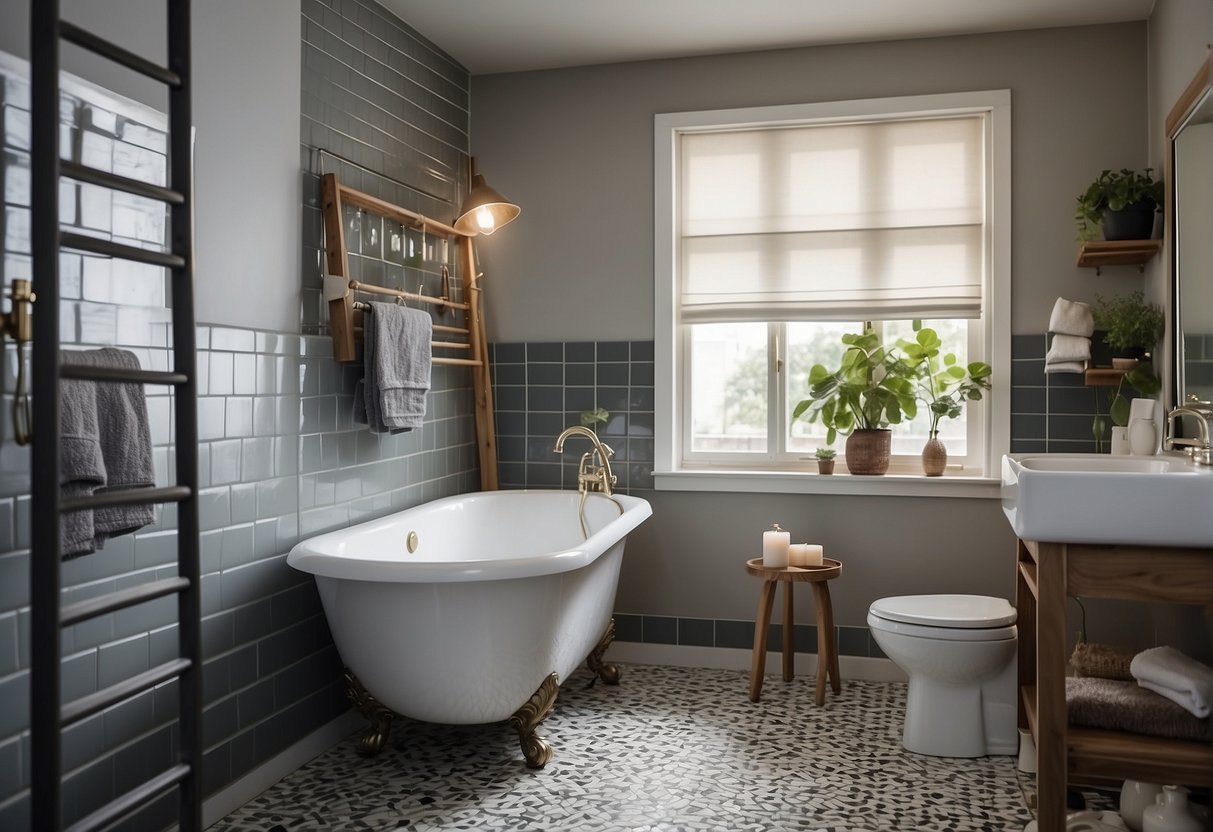
In any bathroom, storage is a necessity. Incorporating shelves makes for a practical and stylish storage solution. For a unique twist, try using ladders as shelves, adding hooks for towels and baskets for toiletries. Floating shelves are another option, providing an airy and minimalist look. Don’t forget that corners serve as optimal places to install corner shelves, maximizing the use of space.
Mason Jar Organizers
Mason jars have a simple charm, making them perfect for DIY bathroom projects. You can use jars to hold various essentials, like toothbrushes, cotton swabs, and makeup brushes. For easy access, simply affix mason jars to a wooden board using hose clamps. Then, mount the board to the wall for a custom storage solution.
Utilizing Vertical Space
Bathrooms often lack ample square footage, so it’s important to make the most of vertical space. Installing tall, slim cabinets can significantly increase storage capacity without overwhelming the room. Likewise, over-the-toilet storage units provide bonus shelf space and require no additional floor space. Another space-saver is using hanging baskets or pocket organizers on the backs of doors for extra storage.
Decor and Accessories

Choosing a Theme
When it comes to DIY bathroom improvement, deciding on a theme is a great starting point. Reflect on your personal style, whether you prefer a modern, rustic, or classic look. Once you’ve chosen your theme, focus on items such as mirrors, vanities, and lighting to bring it all together. For example, a vintage-themed bathroom could feature an ornate mirror, a distressed vanity, and Edison bulb fixtures to create a cohesive look.
Upcycling for Unique Decor
Upcycling is an eco-friendly and cost-effective way to create unique décor for your bathroom. Utilize old items, such as wooden crates or ladders, to craft stylish shelving for storing towels and toiletries. Breathe new life into an old mirror by adding a frame made from reclaimed wood. For an artistic touch, paint a piece of canvas to coordinate with your shower curtain and display it as a custom piece of wall art.
| Item | Upcycling Ideas |
|---|---|
| Wooden Crates | Shelving, Storage Units |
| Ladders | Towel Racks, Shelves |
| Old Mirrors | Reframe, Decorate |
| Canvas | Custom Wall Art |
Accessorizing with Textiles
Textiles play a significant role in tying together your bathroom’s theme. Incorporating elements such as a shower curtain, bath mats, and towels can instantly change the ambiance. Pay attention to the texture, color, and pattern to ensure they align with your chosen theme. For instance, a minimalist bathroom would benefit from simple, monochromatic textiles and a fluffy white rug.
Remember that lighting is an essential element in setting the mood of your bathroom, so select fixtures that complement your theme’s style. Wall sconces, pendant lights, or even a dimmer switch can transform the atmosphere from crisp and bright to warm and inviting.
With these DIY tips, you can transform your bathroom into a stylish and cohesive space that reflects your personality and taste. Remember to choose a theme that resonates with your style, upcycle items for unique and eco-friendly décor, and accessorize with textiles that harmonize with your design.
DIY Vanity and Sink Upgrades
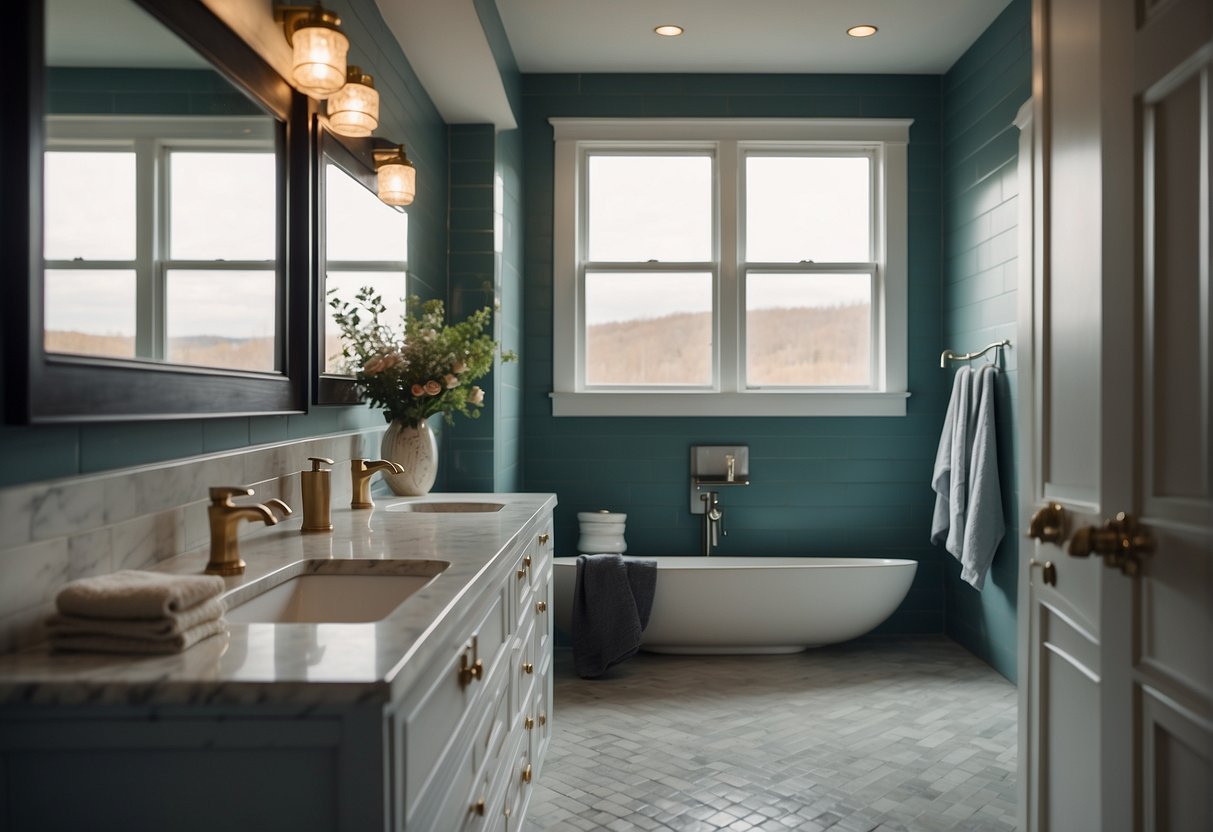
Building a Custom Vanity
Creating a custom vanity for your bathroom can be an exciting and cost-effective DIY project. Start by measuring your space to determine the size and shape of the vanity you want. Next, decide on the material (such as wood, metal, or a combination of both) and the type of storage you need (drawers, shelves, or cabinets).
Once you’ve made your decisions, gather your materials and tools:
- Material for the vanity frame
- Material for the countertop
- Drawer slides or hinges (if applicable)
- Screws, nails, and brackets
- Drill, saw, and sandpaper
- Finish (paint, stain, or sealant)
Follow these general steps to build your vanity:
- Cut your material to size
- Assemble the frame or base
- Install the drawers or shelves, if applicable
- Attach the countertop
- Apply the finish
- Install the vanity in your bathroom
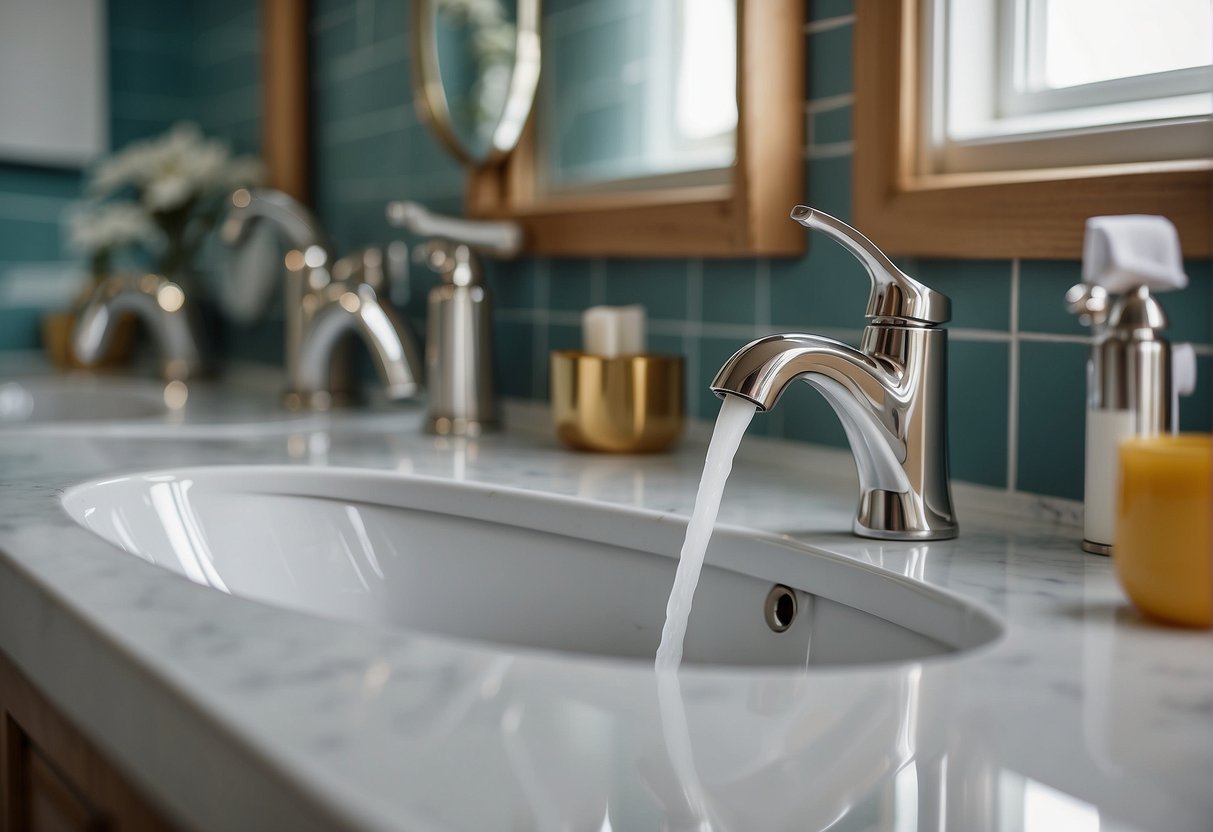
Installing a New Sink and Faucet
Whether you’re upgrading to a modern pedestal sink or installing a traditional drop-in sink, it’s crucial to follow the manufacturer’s instructions for best results. Start by removing the old sink and faucet, turning off the water supply, and disconnecting the plumbing.
For a pedestal sink, you’ll need to:
- Install the wall bracket or wall-mounted sink (depending on the design)
- Attach the pedestal to the sink bowl
- Connect the faucet to the sink
- Align the sink and pedestal with the plumbing
- Secure the pedestal and sink to the wall and floor
For a drop-in sink, follow these steps:
- Position the sink upside-down on the countertop
- Apply a bead of silicone caulk to the sink rim
- Turn the sink right-side up and set it in the cutout
- Attach mounting clips to secure the sink
- Install the faucet and reconnect the plumbing
Adding a Backsplash
A backsplash adds style and protects your bathroom walls from water damage. Here are some materials you can use:
- Ceramic or porcelain tile
- Glass or stone mosaic
- Waterproof laminate
- Vinyl wallpaper
To install a tile or mosaic backsplash, follow these steps:
- Measure the area and plan your design
- Apply tile adhesive to the wall, starting at the bottom
- Press your first row of tiles into the adhesive
- Continue to apply the adhesive and tiles, working upward
- Use tile spacers to maintain even spacing
- Cut tiles as needed
- Allow the adhesive to dry
- Apply grout, and clean the tiles with a damp sponge
With these DIY bathroom improvement projects, you’ll have a stylish, upgraded vanity and sink area that you can be proud of. Enjoy your handiwork!
DIY Tips for Tackling Toilets and Bathtubs
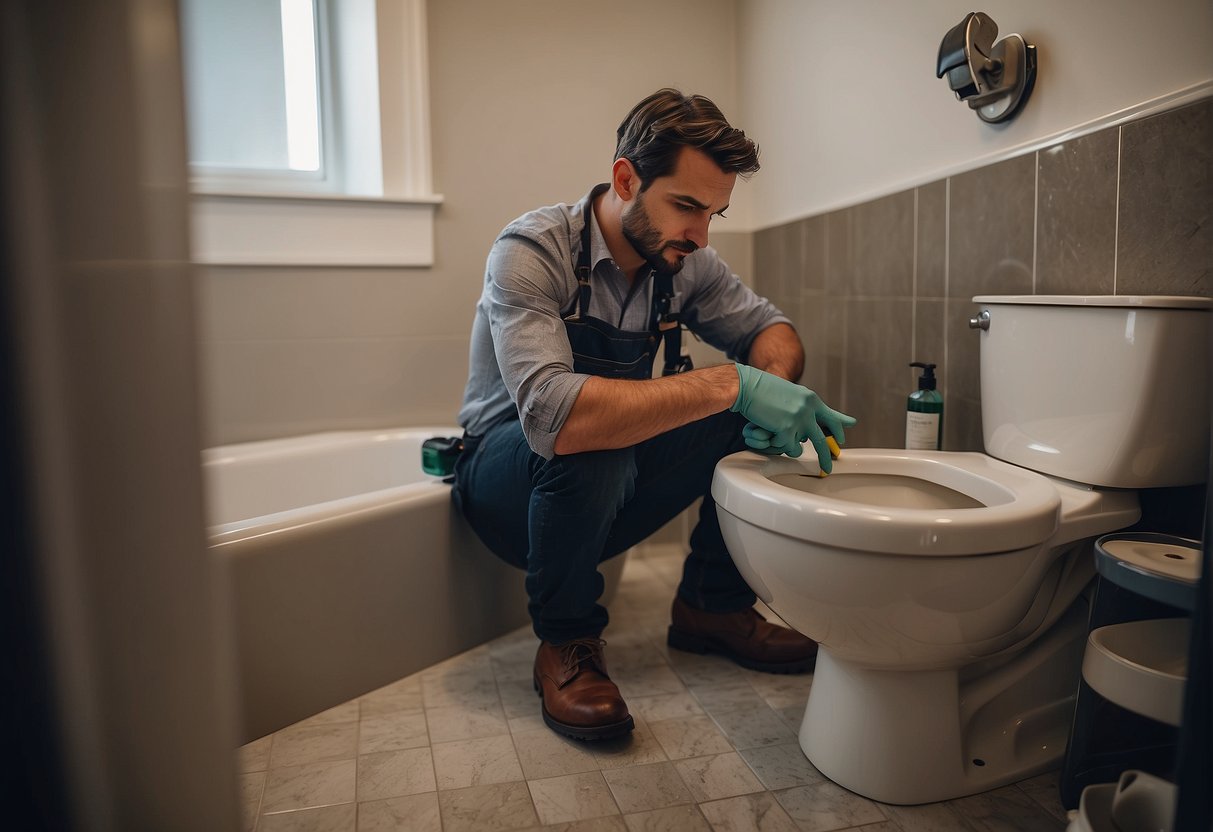
Toilet Replacement and Repair
Replacing or repairing a toilet might sound intimidating, but with a few simple steps, you can easily tackle this bathroom makeover project. First, determine whether your toilet needs to be replaced or just repaired.
Toilet Repair:
- Fix a running toilet by checking the flapper, float, and fill valve.
- Replace a broken toilet handle or toilet paper holder with ease; consider adding a stylish new holder to match your decor.
Toilet Replacement:
- Remove the old toilet by turning off the water supply, draining the tank, and loosening the bolts.
- Install a new wax ring on the floor flange before placing the new toilet.
- Connect the water supply line, ensuring all bolts are tightened.
Keep in mind that if you’re unsure, it’s always best to consult a professional.
Refinishing the Bathtub
A DIY bathtub refinishing project can save you a ton of money and give your bathroom a fresh, updated look. Follow these steps to refinish your bathtub:
- Clean and prep the bathtub’s surface by removing any old caulk or grime.
- Sand the surface to create a rough, even texture, and then rinse it thoroughly.
- Apply a bonding agent to the surface, followed by an epoxy primer.
- Apply multiple layers of finish, allowing each layer to dry before applying the next.
Remember to ventilate the bathroom well during the refinishing process.
Custom Bathtub Trays and Caddies
Add a touch of luxury to your bathroom remodeling project with custom bathtub trays and caddies that can hold your favorite bath essentials or a warm beverage while you soak.
Materials:
- Wood (teak, bamboo, or reclaimed wood)
- Water-resistant sealer
- Non-slip pads
Instructions:
- Measure the width of your bathtub, adding a few extra inches for the tray’s overhang.
- Cut the wood to size, and sand the edges to create a smooth finish.
- Apply the water-resistant sealer, allowing it to dry fully.
- Attach non-slip pads to the bottom side of the tray to prevent slipping.
Design your bathtub caddy with added features, such as a tablet holder or a wine glass slot, to enhance your relaxation experience.
Lighting and Fixtures
Selecting the Right Light Fixtures
When it comes to bathroom remodeling, it’s easy to overlook the importance of lighting. Choosing the right light fixtures can greatly enhance the ambiance of your space. Three factors to consider when choosing light fixtures are style, function, and energy efficiency.
Here are some popular fixture choices:
- Ceiling lights: Add general illumination to the entire bathroom.
- Vanity lights: Specifically designed for the vanity area, perfect for applying makeup or grooming.
- Wall sconces: Elegant, versatile, and can easily be placed around mirrors or on any wall.
DIY Sconces and Vanity Lights
If you’re into DIY projects, consider creating your own custom sconces or vanity lights:
- Choose the materials: Pick materials that complement your bathroom’s overall design. Popular options include metal, glass, and wood.
- Measure your space: Ensure your DIY fixtures will fit properly and provide adequate lighting.
- Plan your layout: Think about where you’d like to position your lights. Common placement options include above the mirror, on either side of the mirror, or on walls near the vanity.
- Consult an electrician: DIY projects are fun, but always prioritize safety. Seek the advice of a professional when dealing with electrical installations.
Improving Natural Light
In addition to light fixtures, consider utilizing natural light to give your bathroom a brighter and more spacious feel. Here are a few ways to improve natural light in your bathroom:
- Windows: Clean, enhance, or add windows in your bathroom to let in more sunlight.
- Skylights: Install skylights or roof windows if your bathroom has access to the roof. This method is particularly effective for smaller or more enclosed bathrooms.
- Mirrors: Strategically place mirrors to reflect natural light and brighten up darker areas within the room.
Final Touches

DIY Decorating Ideas
For a casual touch to your bathroom, consider incorporating wicker baskets as storage options. They can add a warm, rustic element while remaining functional. Place them under the sink or on open shelves to store towels, toilet paper, and other essentials.
Personalize your space with a bath mat that reflects your style, and hang an industrial farmhouse bathroom sign for a touch of charm. You can even repurpose pretty shampoo bottles as chic vases or soap dispensers. Transform basic containers with labels and paint for added flair.
Adding Life with Plants
Bring life to your bathroom by including an assortment of plants. Low-maintenance choices, like snake plants and ferns, thrive in humid environments and can enhance air quality. Set them on counter spaces, windowsills, or even inside the shower to bring in a splash of greenery.
Choose plants with various textures, sizes, and leaf patterns to create an appealing visual display without overwhelming the space. Remember to care for them according to their needs for a lush and lively bathroom atmosphere.
Organizing for Everyday Convenience
Organizing your bathroom can elevate both its appearance and functionality. Begin with a layout tailored to your routine. For instance, frequently-used items can be placed on the counter while less-used items can be stored in cabinets or drawers.
Install a medicine cabinet to hold smaller essentials and keep clutter at bay. Furthermore, you can maximize vertical space by installing shelves or floating wall storage. Utilize attractive trays, bowls, and containers to arrange items neatly, creating a streamlined and organized space.
Incorporate these touches and embrace the DIY spirit for a bathroom space that feels uniquely you!
Luxury Specialist at McGraw Realtors
Bill Wilson has helped buyers and sellers throughout the Oklahoma City metro since 1995. Before entering real estate, he served as a U.S. Air Force fighter pilot and owned an office equipment business, experiences that shaped his disciplined, practical approach to advising clients. Bill works alongside his daughter, Heather Wall, as OKCHomeSellers at McGraw Realtors. Together, they specialize in luxury, move-up and distinctive properties throughout Oklahoma City, Edmond and surrounding communities. With more than 30 years of real estate experience, Bill has guided clients through changing markets, complex transactions and important life transitions. His approach is built on candid advice, thoughtful marketing and relationships that continue long after closing.