
Real Estate Photography For Sellers
Have you ever found yourself staring at a picture of a beautiful home in a magazine or online, completely captivated by the elegance and vibrancy of the property? As a seller, you have the power to create that same allure with your own property. All you need is a keen understanding of real estate photography for sellers. So whether you’re selling a cozy cottage or a sprawling mansion, a picture-perfect presentation can dramatically enhance your property’s marketability. Here’s your step-by-step guide to achieving those magazine-worthy shots and capturing potential buyers’ attention.
Step 1: Preparing the Property
Cleaning and Decluttering
A clean home is a photogenic home. Before you even pick up the camera, make sure your property is sparkling clean and free from clutter. This includes everything from scrubbing the kitchen counters to clearing away children’s toys. A clean, tidy space allows potential buyers to focus on the property itself, not the mess.
Staging
Staging is more than just tidying up—it’s about presenting a lifestyle. Stage each room to highlight its purpose and potential. For example, set the table in the dining room as if you’re hosting a dinner party. The goal is to help potential buyers envision themselves living in the space.
Landscape Preparation
Don’t forget about the outside of your home! Make sure your lawn is neatly mowed and any garden spaces are well-maintained. A well-kept exterior sets the tone for the rest of the property.
Step 2: Camera Equipment Preparation
Choosing the Right Camera
The quality of your photos can directly impact a buyer’s impression of your property. While smartphone cameras have come a long way, nothing beats the clarity and precision of a DSLR or mirrorless camera.
Lens Selection
A wide-angle lens is a real estate photographer’s best friend. It captures more of the room in each shot, giving a more comprehensive view of the space. However, avoid going too wide—as this can distort the room’s proportions.
Tripod Setup
A tripod ensures your camera is stable, resulting in clear, sharp images. This is especially important in low-light situations where a slower shutter speed may be necessary.
Step 3: Lighting and Composition
Natural Light
Using natural light can significantly enhance the aesthetics of your property. Shoot during the day, ideally in the early morning or late afternoon when the light is soft and warm. Open all curtains and blinds to let in as much natural light as possible.
Additional Lighting
Sometimes natural light might not be sufficient, particularly in rooms without large windows or on overcast days. In such cases, use additional lighting like lamps or flashes to brighten up the space. Remember, you want to showcase your home at its absolute best, and lighting plays a huge role in that.
Composition
Photography composition rules like the ‘rule of thirds’ and ‘leading lines’ can help guide your photo’s layout. These techniques can lead the viewer’s eye through the image, highlighting the best features of your property. For example, you could position a beautiful kitchen island off-center using the rule of thirds for a more balanced, visually interesting shot.
Step 4: Shooting the Property
Multiple Angles
Don’t limit yourself to one angle per room. Experiment with different viewpoints to capture the full essence of each space. Different angles can provide a comprehensive visual tour of your property, from low-angle shots emphasizing high ceilings to wider shots showcasing room layouts.
Highlight Key Features
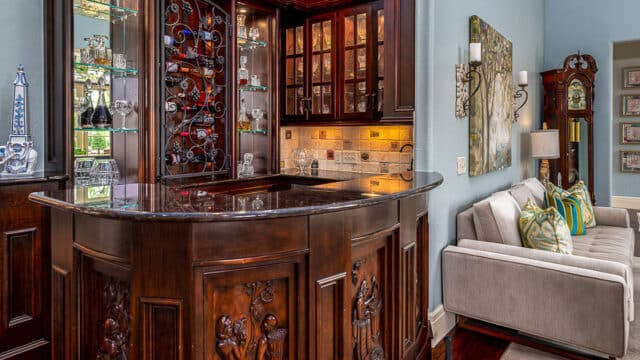
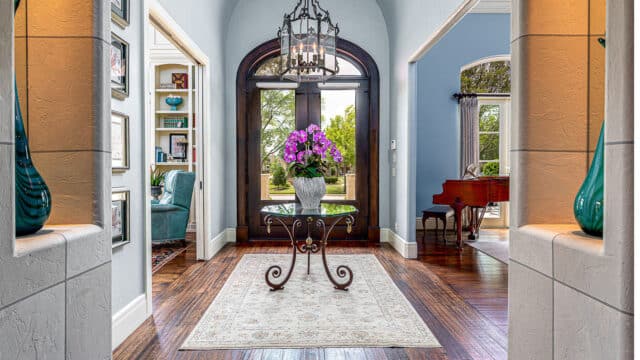
Every home has unique features that make it stand out. Maybe it’s a vintage fireplace, a custom-made kitchen island, or a stunning view from the master bedroom. Make sure these features are well-documented in your photographs.
Exterior Shots
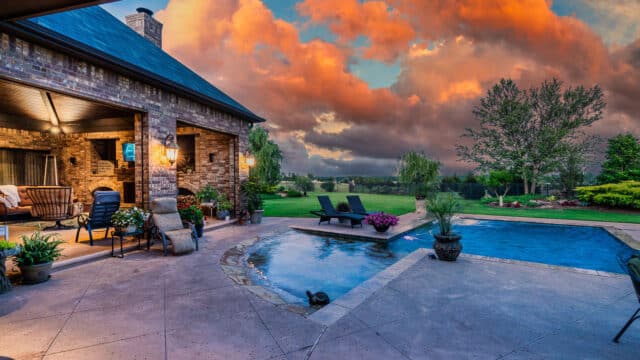
Exterior photos are just as crucial as interior ones. They provide the first impression of your home to potential buyers. Capture front and back views, garden areas, patios, and any other outdoor features that add value to your property.
Step 5: Post-Processing
Photo Editing
Post-processing or photo editing is where your photos truly come to life. You can adjust your images’ brightness, contrast, and saturation using software like Adobe Lightroom or Photoshop. Correct any lens distortion and tweak the white balance to ensure your photos’ colors look natural. However, be mindful not to overdo it. Your images should enhance reality, not distort it.
Image Selection
Not all photos will make the final cut. Go through the shots you’ve taken and select the best ones that truly showcase your property. These images should highlight the unique features, show the overall layout, and, most importantly, make a potential buyer want to see more.
Formatting for Web
After selecting and editing your photos, you’ll need to save them in a format suitable for web use. High-resolution images are great for quality but may take longer to load on a webpage. Optimize your images for the web by saving them as JPEG files at a reasonable resolution and size.
Step 6: Listing and Promotion
Writing Descriptions
Each image should be accompanied by a concise, descriptive caption that explains what’s in the photo. This not only helps visually impaired users understand your content but also gives you an opportunity to highlight any features that aren’t immediately noticeable in the image itself.
Online Listing
Choosing the right online platform to list your property is crucial. Make sure to research various platforms, check their audience, and assess how they display property images. Once you’ve chosen a platform, upload your images and write a compelling property description that emphasizes your home’s best features.
Promotion
Once your listing is live, promote it on social media, through email marketing, and on other platforms where potential buyers are likely to see it. The more eyes on your listing, the better!
Congratulations, you’ve reached the end of your real estate photography journey. But remember, it’s always good to keep learning and improving your skills.
The Bottom Line For Real Estate Photography For Sellers
Mastering real estate photography for sellers is a journey that starts from preparing your property and choosing the right equipment to understanding lighting and composition. It continues through the meticulous process of shooting the property from multiple angles and highlighting key features. The journey culminates in post-processing, selecting the best images, and effectively listing and promoting your property.
Though the process may seem extensive, every step is essential in capturing your property’s charm and attracting potential buyers. Remember, each image you share represents your home, so invest the time and effort necessary to make them shine.
Keep practicing, keep improving, and you’ll soon be capturing stunning shots that do more than just showcase your property—they tell its story.
Adobe Lightroom and Photoshop are popular choices for photo editing. There are also free options like GIMP and online tools like Canva that offer basic editing capabilities.
Real Estate Photography FAQs
What camera should I use for real estate photography?
While you can take decent photos with a high-end smartphone, a DSLR or mirrorless camera will generally yield better results.
When is the best time to photograph my property?
The early morning or late afternoon, often referred to as the “golden hours,” usually offer the best natural light for photography.
How many photos should I include in my listing?
There’s no set number, but aim to include at least one photo of every room, multiple angles of larger spaces, and images of any unique features.
Luxury Specialist at McGraw Realtors
With a diverse background, including a career as an Air Force fighter pilot and entrepreneurship, Bill transitioned to real estate in 1995. Co-founding Paradigm Realty with his wife, Charlene, he quickly rose to prominence in Oklahoma City’s luxury real estate scene. Now, as one of the top agents with annual sales surpassing $20 million, Bill’s dedication to exceptional service remains unparalleled. With a legacy spanning over two decades in the industry, Bill’s expertise and commitment make him a trusted name in luxury real estate.